Using Jupyter Lab in a Virtual Environment
If you want to use Jupyter Lab in a virtual environment so that only selected packages are available in the scope of the notebook.
To do this we have to add a new kernel for the virtual environment in the list of kernels available for the Jupyter Lab.
Create a virtual environment
Open the directory where you want to create your project.
Open a Terminal and navigate to the same directory and run the following commands to create a virtual environment.
1
python -m venv venv
Activat
Now you have our virtual environment, activate it.
1
venv\Scripts\activate
Install jupyter kernel
Install jupyter kernel for the virtual environment using the following command
1
ipython kernel install --user --name=venv
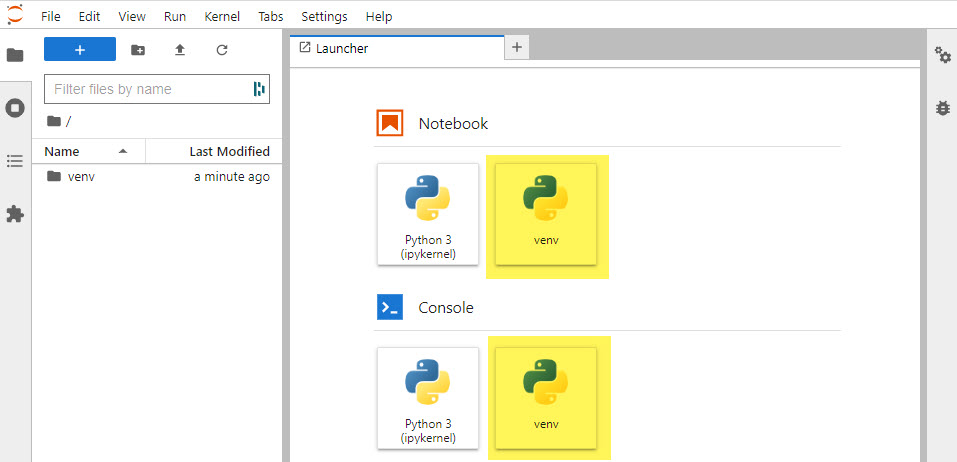
Select the installed kernel when you want to use jupyter notebook in this virtual environment
Run the - jupyter lab - command in the terminal the Jupyter environment will open up.
Click on the venv kernel you just created.

Install modules
You can install modules in 2 ways:
pip install
Use pip install and install each module one at the time
1
pip3 install "module name"
requirements.txt
You can create an requirements.txt file and list the modules in that file, then install all the modules:
1
pip3 install -r requirements.txt
Uninstall kernel
After you are done with the project and no longer need the kernel you can uninstall it by running the following code:
1
jupyter-kernelspec uninstall venv
Python 3.7
If you need a special version of Python in your Virtuel Enviroment. In this case Python 3.7
Steps
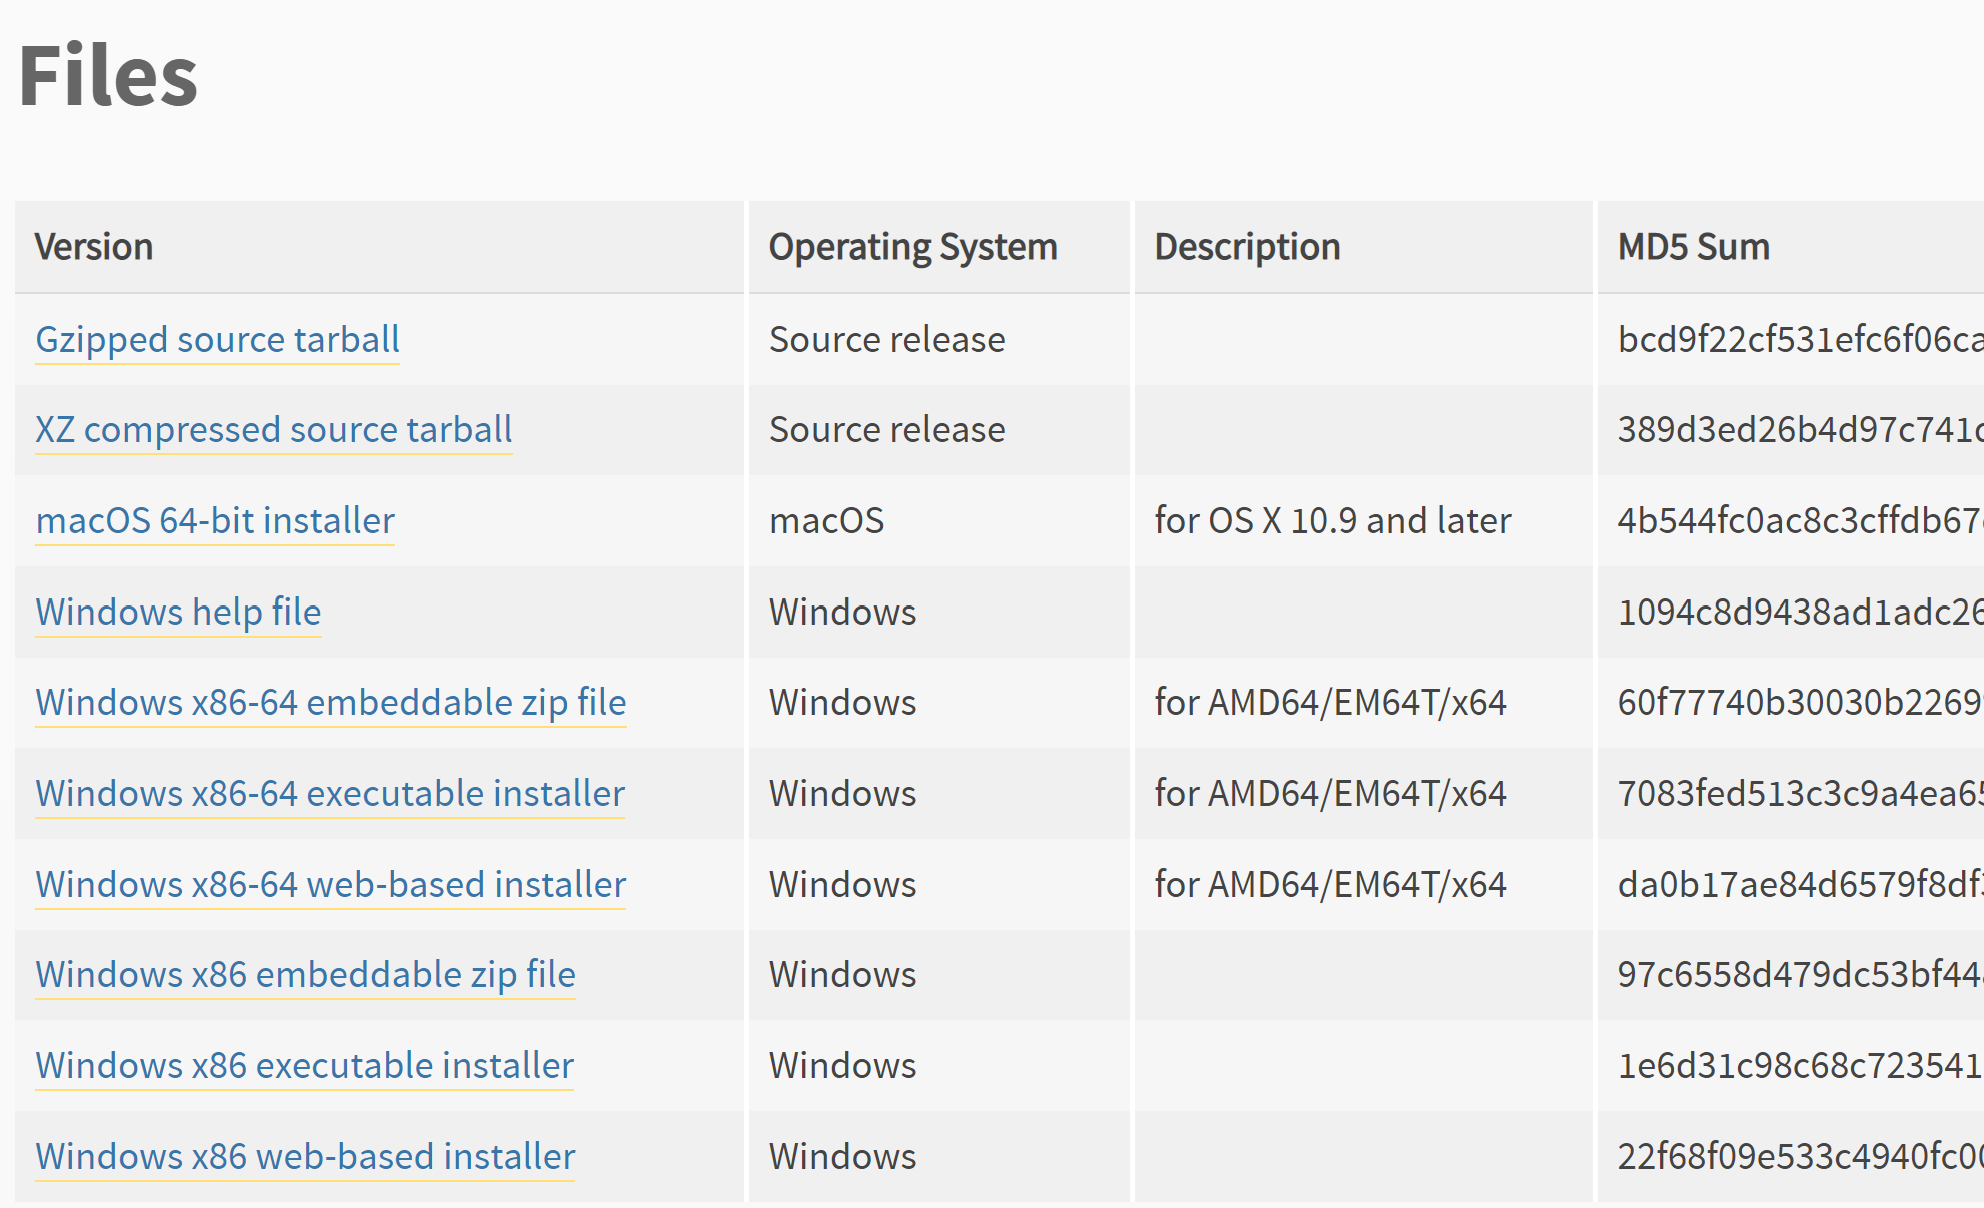
- Download Python 7 from: https://www.python.org/downloads/release/python-379/
Download the

-
Place the unzipede file in the folder where you are creating the venv
-
Create the virtuel enverioment with the command:
virtualenv -p .\python-3.7.9\python.exe powerbi
-
Check you Python versin with:
python -V