RabbitMQ
Think of a message broker (RabbitMQ) like a delivery person who takes mail from a sender and delivers it to the correct destination.
In a microservice architecture, there typically are cross-dependencies that mean no single service can perform without getting help from other services.
This is where it is crucial for systems to have a mechanism in place, allowing services to keep in touch with each other with no blocked responses.
Message queuing fulfils this purpose by providing a means for services to push messages to a queue asynchronously and ensure they are delivered to the correct destination.
To implement message queuing, a message broker is required - RabbitMQ
RabbitMQ is the most widely deployed open source message broker - RabbitMQ
You can think about it as a post office: when you put the mail that you want posting in a post box, you can be sure that the letter carrier will eventually deliver the mail to your recipient.
In this analogy, RabbitMQ is a post box, a post office, and a letter carrier.

IBM Video
What is Rabbit MQ? And what makes it one of the most popular message brokers out there?
In this lightboard video, Whitney Lee with IBM Cloud, answers these questions and much more as she visually shows the flexibility RabbitMQ provides enterprises as the move their messages through a system as well as the benefits of it being cloud friendly.
It is only 10 minuts long!
IBM focused links
- Learn more about Message Brokers
- Check out IBM Messages for RabbitMQ
- Check out IBM MQ
- Check out IBM Cloud Pak for Integration
Install RabbitMQ
You need to install RabbitMQ. Installations guides:
- Windows on Windows you have to install before RabbitMQ Erlang also. The Windows installer takes you to the download page automatically.
- Mac
Install the RabbitMQ Management Plugin
By default, the RabbitMQ Windows installer registers RabbitMQ as a Windows service, so technically we’re all ready to go.
In addition to the command line utilities provided for managing and monitoring our RabbitMQ instance, a Web-based management plugin is also provided with the standard Windows distribution.
The following steps detail how to get the management plugin up and going.
First, from an elevated command prompt, change directory to the sbin folder within the RabbitMQ Server installation directory (e.g. %PROGRAMFILES%\RabbitMQ Server\rabbitmq_server-3.10.2\sbin).
Next, run the following command to enable the rabbitmq management plugin:
1
.\rabbitmq-plugins.bat enable rabbitmq_management
Lastly, to enable the management plugin we need to reinstall the RabbitMQ service. Execute the following sequence of commands to reinstall the service, you have to do this as administrator:
1
2
3
rabbitmq-service.bat stop
rabbitmq-service.bat install
rabbitmq-service.bat start
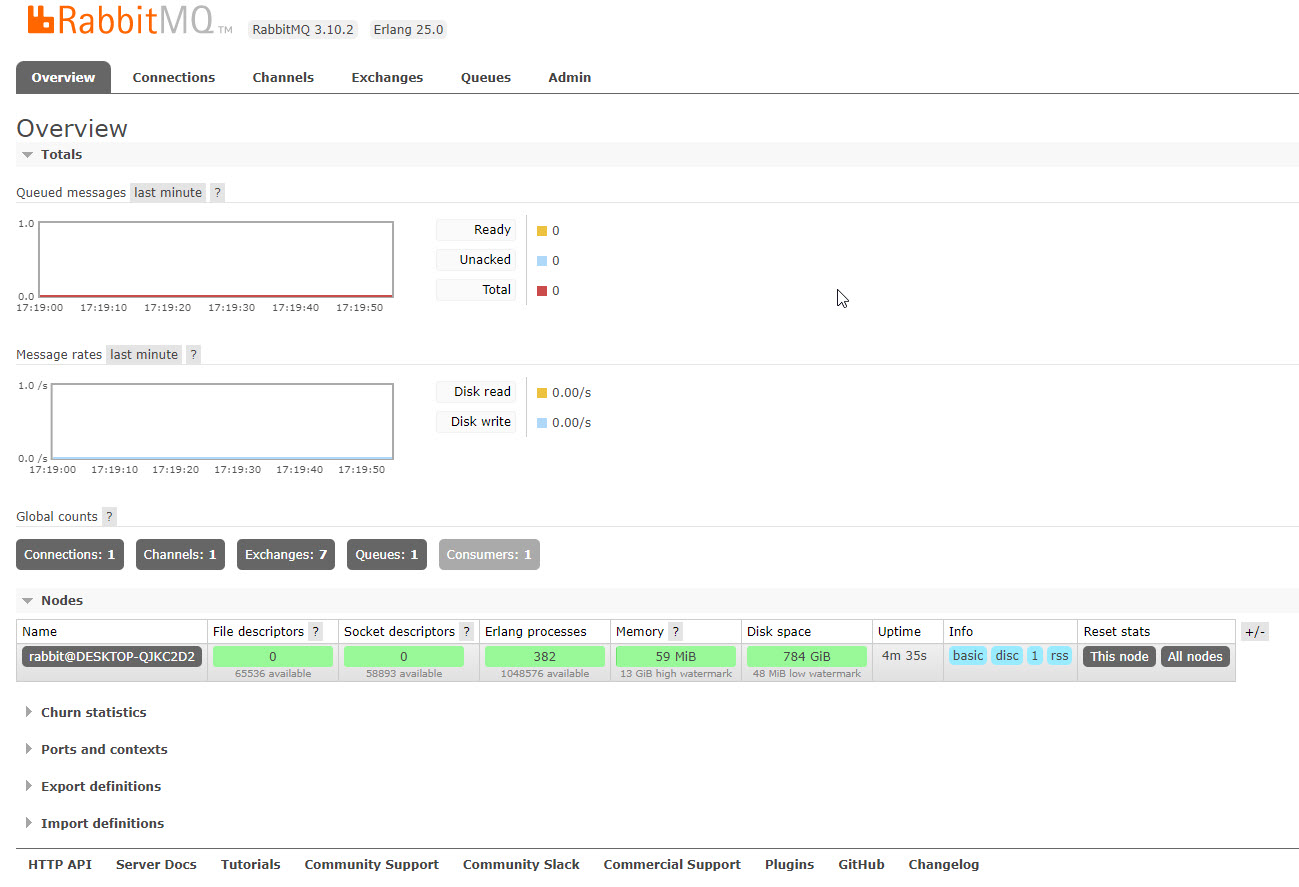
To verify management plugin is up and running, start your browser and navigate to:
1
http://localhost:15672/
If everything went ok, you should see a screen similar to the following:

Default login is:
- User: guest
- Password: guest

RabbitMQ and Python
For use of RabbitMQ in Python you need a client library, we are using Pika
You install Pika as any other Python module
1
pip3 install pika
Example - Simpel Hello World
Write two small programs in Python:
- Producer (sender) that sends a single message
- Consumer (receiver) that receives messages and prints them out
It’s a “Hello World” of messaging.
In the diagram below, “P” is our producer and “C” is our consumer. The box in the middle is a queue - a message buffer that RabbitMQ keeps on behalf of the consumer.

Producer sends messages to the “hello” queue. The consumer receives messages from that queue.
Virtuel Environment
Create a requirements.txt file containing:
- pika
- sys
- os
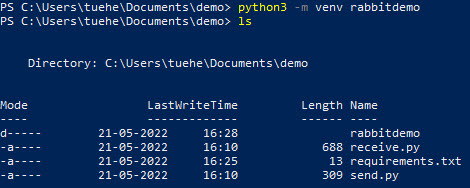
Create a Virtuel Environment for the RabbitMQ demo
1
python3 -m venv rabbitdemo

Activate the virtual environment
- macOS - source env/bin/activate
- Windows - .\Scripts\activate
Sending - send.py
The send.py program send.py will send a single message to the queue hello

1
2
3
4
5
6
7
8
9
10
11
import pika

connection = pika.BlockingConnection(
    pika.ConnectionParameters(host='localhost'))
channel = connection.channel()

channel.queue_declare(queue='hello')

channel.basic_publish(exchange='', routing_key='hello', body='Hello KEA!')
print(" [x] Sent 'Hello KEA!'")
connection.close()
Download send.py
Receiving
Your second program receive.py will receive messages from the queue and print them on the screen.

1
2
3
4
5
6
7
8
9
10
11
12
13
14
15
16
17
18
19
20
21
22
23
24
25
import pika, sys, os

def main():
    connection = pika.BlockingConnection(pika.ConnectionParameters(host='localhost'))
    channel = connection.channel()

    channel.queue_declare(queue='hello')

    def callback(ch, method, properties, body):
        print(" [x] Received %r" % body)

    channel.basic_consume(queue='hello', on_message_callback=callback, auto_ack=True)

    print(' [*] Waiting for messages. To exit press CTRL+C')
    channel.start_consuming()

if __name__ == '__main__':
    try:
        main()
    except KeyboardInterrupt:
        print('Interrupted')
        try:
            sys.exit(0)
        except SystemExit:
            os._exit(0)
Download receive.py
Try out the programs in a terminal.
First, start a consumer (receive.py), which will run continuously waiting for deliveries:
1
.\rabbitdemo\Scripts\python.exe .\receive.py

Second, start the producer (send.py). The producer program will stop after every run:
1
.\rabbitdemo\Scripts\python.exe .\send.py

You were able to send our first message through RabbitMQ.

As you might have noticed, the receive.py program doesn’t exit. It will stay ready to receive further messages, and may be interrupted with Ctrl-C.
RabbitMQ PDF
You can get an good introduction of RabbitMQ in this PDF - Getting_Started_with_RabbitMQ_and_CloudAMQP.pdf from CloudAMQO